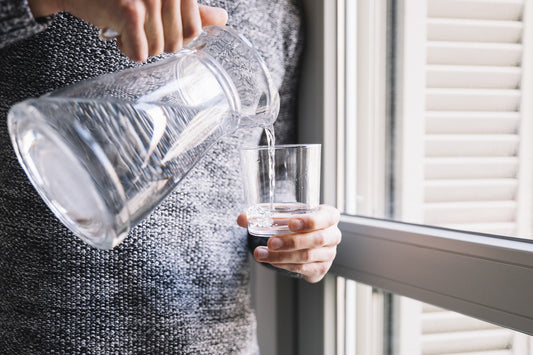
Water is an indispensable element in our daily lives, but its quality can vary significantly. Hard water, which is rich in minerals, can be a silent adversary, causing numerous issues. Enter the solution: water softeners. In this guide, we'll delve deep into the world of water softener installation, ensuring you have all the knowledge you need to make your water as soft as a summer rain.
Why Soften Your Water?
The Detriments of Hard Water
Hard water is notorious for its mineral content, primarily calcium and magnesium. These minerals, while not harmful to health, can wreak havoc on household appliances, plumbing, and even personal care. Have you ever noticed a filmy layer on your shower doors or faucets? That's the handiwork of hard water. It's not just about unsightly stains; hard water can reduce the efficiency of your appliances, make your clothes feel rough, and even affect your skin and hair. Imagine showering in something that feels more like a mineral bath than a refreshing cleanse!

Image by master1305 on Freepik
Benefits of Softened Water
Switching to softened water can feel like a home revolution. Your appliances run better, your clothes feel softer, and those stubborn stains? They'll be history. Plus, you'll use less soap, save on maintenance costs, and even notice a difference in your skin and hair's health. Softened water also ensures that your appliances have a longer lifespan, saving you money in the long run.
Preparing for Installation
Unpacking and Understanding Components
Before diving into the installation, it's essential to familiarize yourself with the components. Your water softener kit will come with an instruction manual, adapter elbow, rubber grommet, hose clamps, silicone grease, and a hardness tester. Think of this as your toolkit for the journey ahead. Familiarizing yourself with these components will ensure a smoother installation process.
Setting Up the Overflow System
Inside the salt tank is a hose meant for overflow. This is a safety feature, ensuring that any excess water has a place to go, preventing potential messes. This step is crucial as it prevents water damage and ensures the system runs efficiently.
The Installation Process
Connecting the Bypass Valve
The bypass valve is your water softener's traffic cop, directing the flow of water. Initially, you'll want it in 'bypass' mode, ensuring no water flows through the softener during setup. This step is crucial as it ensures that the system doesn't get overwhelmed or damaged during the initial phases.
Linking the Water Lines
This step involves some plumbing know-how. You'll be connecting the water softener to your main water line, ensuring a seamless flow of water in and out of the softener. Proper connection is vital to prevent leaks and ensure efficient water softening.

Image by macrovector on Freepik
Sanitizing the System
Before the softener touches a drop of your water, it needs a thorough cleaning. A bit of non-scented household bleach will do the trick, ensuring any potential contaminants are eliminated. This step is crucial for the health and safety of those using the water.
Programming and Testing
Setting Up the Digital Controls
Modern water softeners are smart. They come with digital controls that allow you to customize settings like time, hardness level, and salt type. It's like setting up a new smartphone, but for your water! Proper programming ensures that the system works efficiently and provides the best results.
Testing Water Hardness
Now, for the moment of truth. Using the provided tester or a separate kit, check your water's hardness. This will confirm if your softener is doing its job and turning that hard water soft. Regular testing ensures that the system is always at its best.
Maintenance and Troubleshooting
Regular Checks and Balancing
Like any appliance, your water softener needs regular check-ups. Ensure the salt levels are balanced, and the system is running smoothly. Regular maintenance ensures longevity and efficiency.
Addressing Common Issues
Leaks and Overflows
Occasional leaks can happen. Regular checks can help spot and fix them before they become a bigger issue. It's always best to address these issues promptly to prevent further damage.
Inaccurate Hardness Readings
If your softener's readings seem off, it might be time for a recalibration or a check on the system's components. Regular checks and recalibrations ensure accurate readings and optimal performance.

Image by Freepik
Conclusion
Installing a water softener can be a game-changer for your home. With this comprehensive guide, you're well-equipped to embark on this journey, ensuring every drop of water in your home is as soft and pure as nature intended.
FAQs
How often should I check my water softener?
It's a good practice to check your system once a month.
Can I install the water softener myself?
Yes, with the right tools and this guide, you can. However, if you're unsure, it's always best to consult with a professional.
How long do water softeners typically last?
With proper maintenance, they can last anywhere from 10 to 20 years.
What type of salt should I use?
Most softeners use either sodium chloride or potassium chloride. Check your manual and settings to ensure you're using the right type.
Why is my water still hard after installing a softener?
It could be due to incorrect settings, a malfunction, or the need for a system recharge. Regular checks and maintenance can help address these issues.
Image by Freepik


