Introduction
Water is the essence of life, but not all water is created equal. Enter the world of Reverse Osmosis (RO), a modern technological marvel that ensures each drop of water flowing from your tap is thoroughly purified. This detailed guide will walk you through the nuanced steps of replacing filters in your under-sink RO system, enhancing the quality and taste of your home’s water supply.
Preparing for Filter Replacement
Essential Tools and Preparations
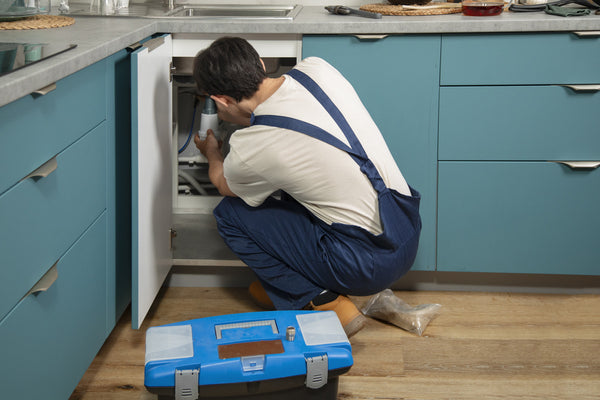
Embarking on your filter replacement journey starts with proper preparation. Gather the following tools: a filter wrench, needle-nose pliers, and mild soap for cleaning. These tools will help you handle the filters and housings safely and effectively.

Safety cannot be overstated. Begin by shutting off the feed water line to stop water flow into the system. Close the tank’s ball valve to prevent water from coming back up during the replacement and lift the RO faucet lever to release any built-up pressure. These steps are crucial in setting up a safe work environment, preventing any unexpected water discharge that could not only delay the process but also potentially cause water damage.
Step-by-Step Filter Replacement Guide
Replacing the filters in your RO system is a meticulous process that, when done correctly, reinstates optimal system efficiency and water purity.
First Stage - Sediment Filter
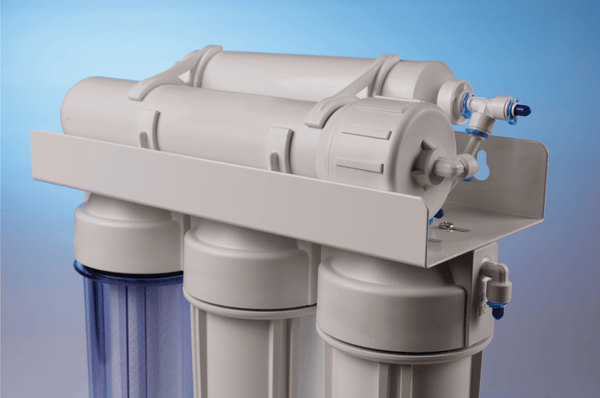
The sediment filter, typically the first stage of filtration, traps particulate matter such as dirt, rust, and silt that can affect the appearance and quality of your water. To replace the sediment filter, use your wrench to carefully unscrew the filter housing. Remove the old filter and dispose of it responsibly. Take this opportunity to clean the inside of the housing with mild soap and water to remove any residual sediment. Insert the new filter, reattach the housing, and ensure it is secure. This stage is crucial as it protects the subsequent filters from being clogged with large particles.
Second and Third Stages - Carbon Block Filters
These stages are designed to remove chlorine and organic compounds that can impart unwanted tastes and odors to the water. Similar to the first stage, use the wrench to open the housing of the carbon block filters. Remove the old filters, clean the housings, and place the new filters inside. It’s important to ensure that the filters are seated well and that the housing o-rings are intact and snug to avoid any potential leaks.
Fourth Stage - Membrane Replacement
The RO membrane is the heart of the system, where the most significant purification occurs. To replace the membrane, first ensure all water lines are shut off again. Use needle-nose pliers to carefully pull out the old membrane and insert the new one, making sure it is fully seated within the housing. This component is delicate and requires gentle handling to maintain integrity and functionality.

Image by freepik
Final Stage - Post Carbon Filter
This filter acts as a polisher, removing any remaining impurities and ensuring that the water’s taste and smell are clean and refreshing. Replace the post-carbon filter by repeating the similar steps of removing the old filter, cleaning the housing, and installing the new filter. This final step is essential for maintaining the aesthetic quality of your drinking water.
Reassembly and Testing
Checking for Leaks
After replacing the filters and reassembling the system, it’s important to check for any leaks. Turn the water feed back on and observe the connections closely for any drips or moisture. If you notice a leak, immediately turn off the water and tighten the connections. It’s better to address leaks immediately rather than dealing with potential water damage later.
System Flushing
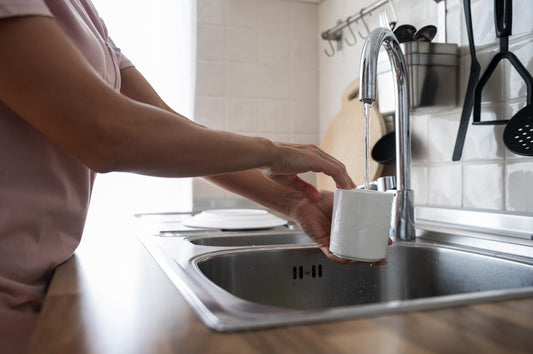
Flushing the system is crucial after installing new filters. This process involves running water through the system for about two tank fills to remove any carbon fines or loose sediment. Discard this water as it may contain impurities flushed from the new filters. Flushing helps to ensure that your first glass of water after the filter change is as pure as expected.
Maintenance and Regular Upkeep
Routine Filter Replacement
Regular maintenance of your RO system is vital for continued water quality. Replace sediment and carbon filters at least once a year and the membrane every two to three years, depending on your water usage and quality. These timely replacements prevent the buildup of contaminants and degradation of the system’s performance.
Using a TDS Meter
Monitoring your water quality can also be done with a Total Dissolved Solids (TDS) meter. This device helps you keep an eye on the overall effectiveness of your RO system by measuring the levels of dissolved particulates in your water. High TDS readings might indicate it's time to replace your filters or that there may be an issue with the system.

Conclusion
Maintaining your under-sink RO system through regular filter changes is crucial for ensuring high-quality drinking water. By following these detailed instructions for filter replacement and system maintenance, you can enjoy the benefits of clean, purified water for years to come.
FAQs
How often should I replace my RO filters?
Sediment and carbon filters should be replaced annually, and the RO membrane every 2-3 years, depending on your water usage and quality.
How do I know if my RO system is working correctly?
Regular use of a TDS meter and monitoring the taste and clarity of the water are effective ways to gauge your system’s performance.
What should I do if I notice a leak after reassembling my RO system?
Immediately shut off the water and check all connections and seals for tightness. If the issue persists, consulting a professional may be necessary.
Can I replace the RO filters myself?
Yes, with the right tools and careful adherence to the instructions outlined here, you can perform the filter replacements yourself.
Why is it important to flush the system after replacing the filters?
Flushing the system removes any loose sediment or carbon fines that might compromise water quality. It ensures that your water is clean and safe to drink right after the filter change.
Image by freepik


